Cabinet Water Damage: Save, Repair, or Replace Cabinets
A slow drip under the sink can turn into cabinet water damage long before water reaches the kitchen floor. Leaking supply lines, drain pipes, dishwashers, refrigerator ice makers, and overflowing appliances can stain finishes, swell panels, and soak the wall or floor behind the cabinet.
Quick action limits the mess and may save cabinets that still look sound on the outside. Dr. Cabinet helps homeowners and businesses assess damage, dry affected areas, and choose practical repairs instead of replacing cabinetry too soon.

What to Do First When You Find Cabinet Water Damage
Stop the water source before you focus on cleanup. Turn off the sink's shutoff valves if the leak is under the sink. If an appliance is involved, shut off its water supply and unplug it only when the surrounding area is dry and safe.
Then work through these first-response steps:
- Remove standing water with towels or a wet/dry vacuum.
- Empty the cabinet completely, including drawers, shelf liners, and stored items.
- Open doors and drawers so air can reach every surface.
- Place fans near the opening and run a dehumidifier in the room.
- Remove the toe kick or base trim if water may be trapped beneath the cabinet.
- Check nearby drywall, flooring, plumbing connections, and the cabinet corners.
Keep windows mostly closed while you dry the area. Outdoor air can carry humidity indoors, which slows drying and allows materials to absorb moisture again. Fans move damp air away from surfaces, while a dehumidifier removes that moisture from the room.
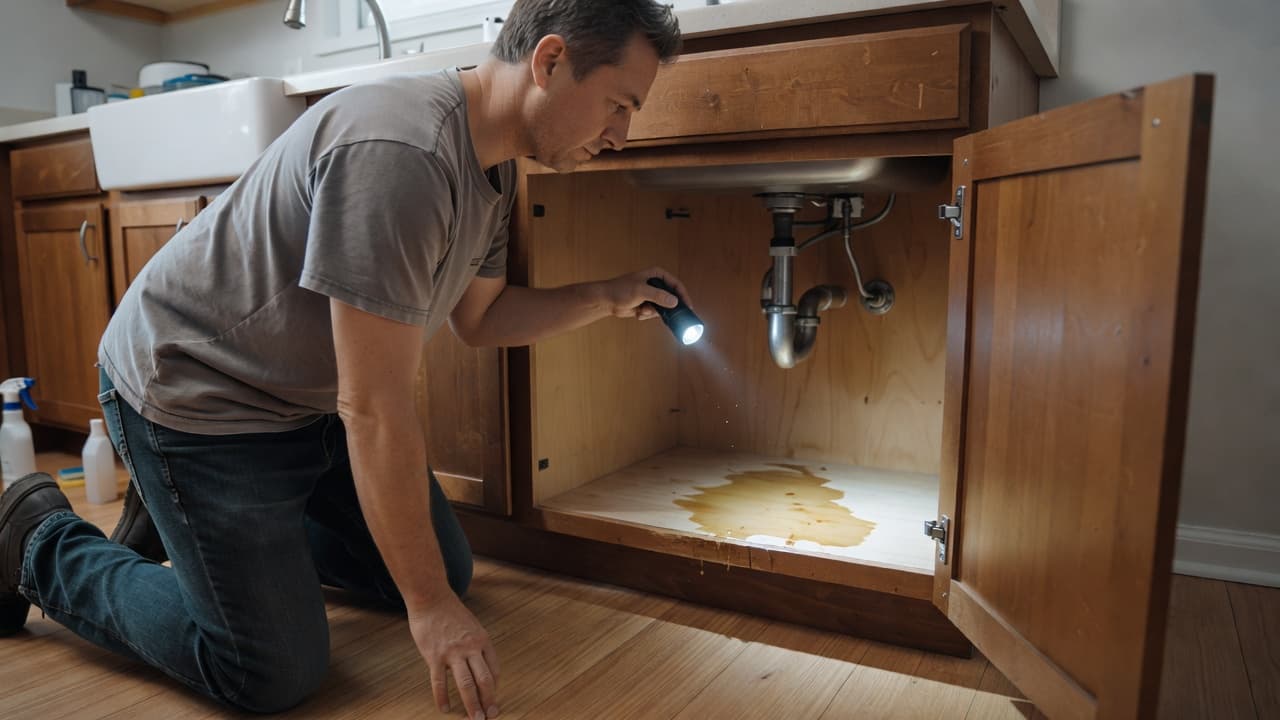
Under-sink leaks often spread farther than expected. Inspect the cabinet base, the toe kick, rear corners, and the floor directly beneath the plumbing. Look for water marks on the wall behind the cabinet and softness in the subfloor.
Water can stay trapped behind a toe kick or inside a cabinet base even after the visible puddle is gone.
Avoid handling wet outlets, wiring, or appliances. Also, treat water from a backed-up drain, dishwasher overflow, or sewage line as contaminated. Call a water damage professional when water has reached electrical components, walls, flooring, or multiple cabinets.
How to Assess Cabinet Water Damage Before Repairing It
Once the area is dry, inspect every panel in good light. Cabinet water damage often shows up as rippled surfaces, dark stains, peeling finish, puffed seams, loose veneer, soft corners, sagging shelves, or a musty odor. Doors and drawers that rub, stick, or sit unevenly may also point to swelling.
A moisture meter can help confirm whether wood is dry enough for repair. A reading below 12% is a useful target before sanding, filling, painting, or sealing. Covering damp material only traps the problem inside.
| What you find | Likely condition | Common next step |
|---|---|---|
| Light stain or dull finish | Cosmetic damage | Clean, sand, and refinish |
| Loose trim or separated joint | Localized repair | Glue, clamp, and touch up |
| Swollen edge or bubbling veneer | Material breakdown | Replace panel or affected part |
| Soft base, mold, or sagging shelf | Structural damage | Professional inspection and replacement |
Solid wood can sometimes dry flat and remain strong enough for repair. MDF and particle board react differently. Their compressed fibers often swell after exposure to water, then stay distorted even when the surface feels dry.
Dr. Cabinet can inspect the cabinet material and construction before recommending restoration, refacing, a custom replacement part, or full replacement.
When Water-Damaged Cabinets Can Usually Be Saved
Local damage to solid-wood doors, drawer fronts, face frames, trim, and finish layers is often repairable. The material should feel firm, hold its original shape, and show no deep rot or widespread mold.
Repairs may include re-gluing separated joints, clamping them until cured, applying wood filler to shallow voids, sanding rough edges, and blending the repaired area with stain or paint. Loose hinges, drawer slides, and pulls can also be replaced after the cabinet has dried.
Moisture removal comes first. Glue will not bond well to damp wood, and fresh paint can blister if the surface still holds water.
When Cabinet Panels Need Replacement
Replacement is usually the better choice when MDF or particle board has swollen badly. A spongy cabinet base, delaminated side panel, shelf that sags under light weight, or door with split edges will rarely return to its original strength.
Deep rot, persistent odor, visible mold, and water that reached the subfloor also call for closer inspection. In those cases, the cabinet may hide damage to drywall, framing, or flooring.
You do not have to assume the entire kitchen needs replacement. Options can include a single cabinet base panel, a matching door or drawer front, new shelves, refacing, or a full cabinet replacement when the damage is extensive.
Cabinet Water Damage Repair Methods That Work
Successful cabinet water damage repair begins with complete drying and cleaning. Remove loose finish, dirt, and damaged caulk without soaking the cabinet again. Use a mild cleaner that suits the existing finish, since harsh products can discolor lacquer, shellac, varnish, or painted surfaces.
For minor edge swelling or shallow deterioration, sand loose material with medium-grit paper, often within the 100 to 180 grit range. Apply a two-part wood hardener only where the remaining wood is sound but porous. After it cures, fill small gaps with a quality wood filler, sand with fine-grit paper, and remove all dust.
Prime and paint repaired painted cabinets, then protect the surface with a moisture-resistant topcoat where appropriate. Stained wood requires closer color matching. Polyurethane, varnish, shellac, and lacquer each create a different appearance, so the repair product must suit the original cabinet finish.
Dr. Cabinet handles detail-focused repairs, refinishing, custom doors, drawer fronts, and replacement panels. Careful finish matching helps a repaired area blend with surrounding cabinets instead of drawing attention to itself.
DIY Repairs Versus Professional Cabinet Restoration
A careful homeowner can often dry a cabinet, replace worn hardware, reattach a loose pull, or touch up a small surface scratch. Small repairs are reasonable when the leak is fixed and the cabinet remains dry, firm, and stable.
Professional help makes more sense when water may be hidden behind cabinets, drywall feels damp, mold is present, or the base has expanded. A cabinet professional can check doors, drawers, face frames, toe kicks, and adjacent surfaces that are easy to overlook.
Dr. Cabinet works on residential and commercial projects, including apartments, offices, restaurants, retail spaces, and healthcare facilities. Professional restoration can also protect nearby finishes while repairs are underway.
How Much Does Cabinet Water Damage Repair Cost?
The cost of cabinet water damage repair depends on the material, the size of the wet area, drying needs, finish type, labor, and the plumbing repair that stopped the leak. Flooring, drywall, and mold cleanup can add to the project if water traveled beyond the cabinet.
Minor DIY touch-ups often involve modest material costs, while professional repairs may range from a small localized fix to several hundred dollars per cabinet. Full kitchen replacement costs much more, especially when custom cabinets, countertop removal, and floor repair are involved.
A written estimate should separate the cabinet work from plumbing, drying, and related wall or floor repairs. That makes it easier to compare a single-panel replacement, a new door or drawer front, refacing, and full replacement. Dr. Cabinet offers free estimates and personalized options when repair is practical.
How to Prevent Future Water Damage to Cabinets
Check supply lines, drain traps, and shutoff valves under every sink several times a year. Look for rust, mineral buildup, damp cabinet liners, or a faint musty smell. Replacing a worn hose or loose connection costs far less than rebuilding a swollen cabinet base.
Keep the under-sink area uncluttered so leaks are visible. Wipe spills promptly, replace cracked caulk around sinks, and inspect dishwasher connections and refrigerator water lines. Leak sensors can provide an early alert before a small drip becomes a larger repair.
Protect exposed cabinet edges with a suitable sealant, especially around sink bases and bathroom vanities. Moisture-resistant materials and removable protective liners are useful in spots that see frequent splashes.
Dr. Cabinet can repair, refinish, reface, or upgrade cabinets with durable materials, soft-close hardware, and practical storage features. These improvements help cabinets work better in busy homes and commercial spaces.
Protect the Cabinets You Already Have
Stop the leak, dry the cabinet completely, and inspect the hidden areas before deciding what to replace. Early action can preserve solid wood, doors, drawers, and finish work that still have years of use left.
Many damaged cabinets need a targeted repair, not a full remodel. Homeowners, landlords, restaurants, offices, and property managers in New York, New Jersey, and nearby areas can contact Dr. Cabinet for an inspection or free estimate at 201-212-5477 or infodrcabinet@gmail.com.


Comments