Laminate Floor Gap Filler Repairs That Preserve Movement
A gap beside your baseboard needs a different response than a gap between two laminate planks. Before buying laminate floor gap filler, identify whether you're looking at movement clearance or a joint that has separated.
For homeowners updating a kitchen with Dr. Cabinet, that distinction matters when planning nearby cabinet work. Filling the wrong space can restrict the floor's movement or hide an installation problem.
Start by locating the gap and checking your flooring manufacturer's instructions.
What a laminate floor gap filler can and cannot fix
Floating laminate needs space to expand and contract as temperature and humidity change. A visible opening doesn't automatically mean something needs filling.
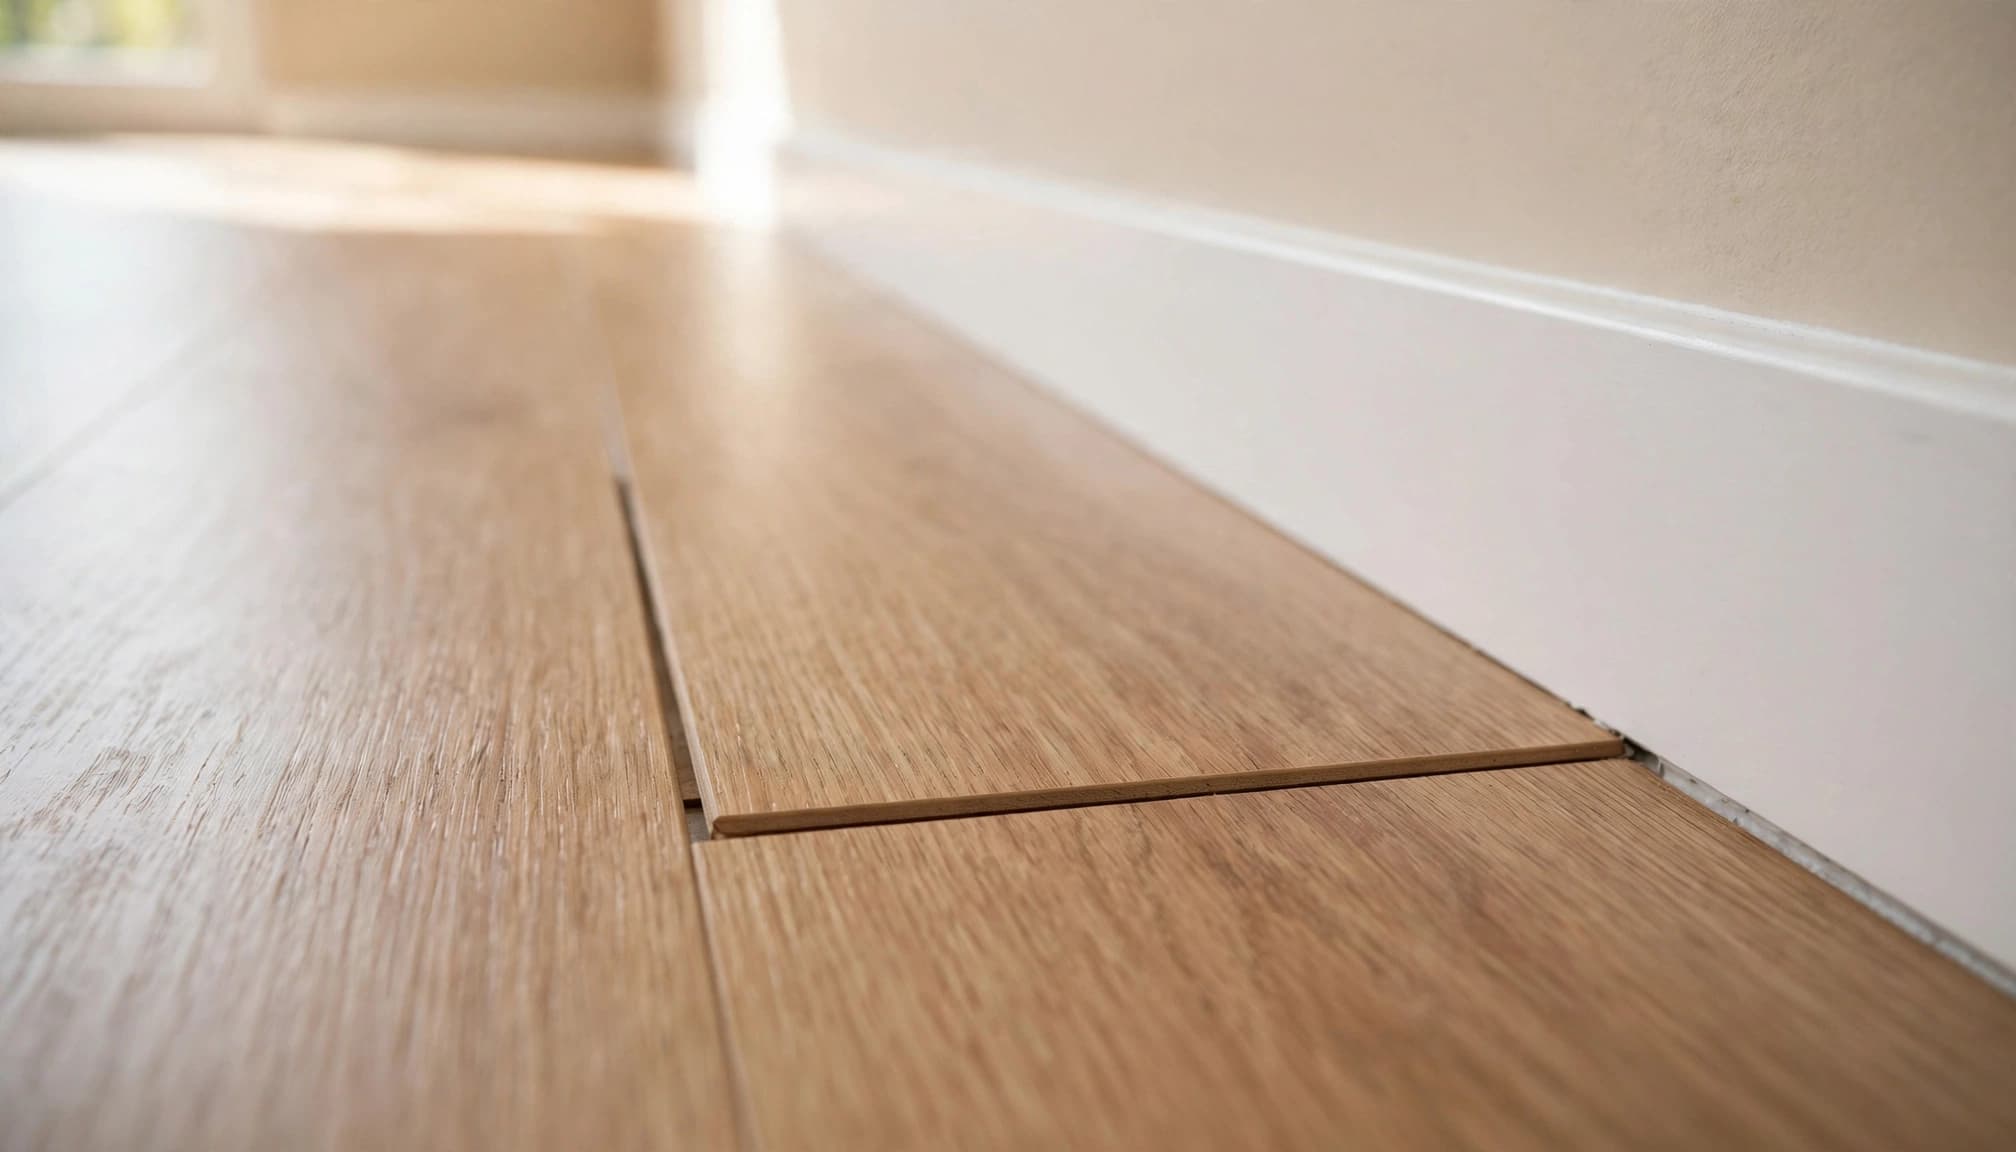
Expansion gaps at walls and doorways need room to move
Perimeter gaps provide clearance around walls, thresholds, pipes, and other fixed objects. Don't pack them with ordinary putty, caulk, or adhesive.
Baseboards, shoe molding, and transition profiles can cover approved gaps without holding the floating floor down. Follow the flooring maker's requirements for clearance and trim attachment; measurements vary by product.
If Dr. Cabinet is installing nearby cabinetry, discuss these requirements before work begins. Fixed cabinets and trim shouldn't trap a floor that must move freely.
Gaps between planks may signal a bigger problem
An opening between boards may indicate a separated locking joint. Other possible causes include an obstruction at the floor edge or an uneven subfloor.
Check whether the gap changes, nearby boards shift, or edges rise underfoot. Those observations help an installer assess the cause.
Filling a moving joint can conceal the opening while leaving the underlying problem untreated. A damaged locking edge may need repair or replacement instead.
Choose a repair that matches the damage
A laminate floor gap filler should match the damage and the manufacturer's approved repair method. Cosmetic surface repairs and separated plank joints need different treatment.
Review product labels alongside Dr. Cabinet's laminate flooring gap repair tips, but let your flooring maker's instructions determine what you apply.
Use repair wax for small chips and surface scratches
The Quick-Step Repair Kit is a manufacturer repair option for light surface damage. Color matching helps small chips and scratches blend with the surrounding finish.
Repair wax addresses localized cosmetic damage; it doesn't reconnect a locking joint. Don't use it to bridge open plank seams or fill perimeter clearance.
Confirm that the kit suits your floor and follow its application instructions. A color match alone doesn't establish compatibility.
Treat putty, caulk, and silicone with care
Color-matched putty may suit a small cosmetic defect when both its label and the flooring guide permit it. Acrylic or latex caulk isn't a universal laminate repair.
Some manufacturer-approved water-resistant systems require dedicated sealing components. For example, Pergo instructions specify foam strip and PG Aqua Sealant for particular finishing applications.
An approved perimeter sealing system is a product-specific exception, not permission to fill every expansion gap with household silicone.
Reseat or replace a plank when its locking joint has failed
Ask the flooring maker or installer how to repair your specific locking system. Some floors permit disassembly and reassembly; other repairs require a different procedure.
Don't force a board sideways or assume adhesive will restore a broken locking edge. If the joint is damaged, replacement may be necessary.
How to repair a laminate floor gap without causing more damage
Before applying laminate floor gap filler, identify the opening, review the installation guide and warranty, and inspect for obstructions or moisture. Then choose an approved repair.
Prepare the area and check for movement or moisture
Vacuum loose debris and clean the area using the floor manufacturer's recommended method. Dirt can obscure a damaged edge or interfere with a cosmetic repair.
Look for swelling, staining, raised edges, or evidence of a leak. Also inspect tight trim, doorway profiles, and fixtures that may restrict movement.
Avoid adding filler until you understand why the gap opened. If moisture is present, address its source before attempting a surface repair. Photograph the damage before altering anything so the installer can assess its condition.
Apply only the product and method approved for the floor
For a permitted cosmetic repair, follow the label's directions for color matching, application, cleanup, and curing or cooling. Test the color as directed before treating a visible spot.
For a manufacturer-specific water-resistant installation, use the specified components and sequence. Don't substitute household sealant for a required foam strip or branded sealing product.
Throughout the repair, preserve the floor's required movement clearance. Covering an edge neatly shouldn't pin the planks beneath it.
Avoid fixes that block floor movement or risk the warranty
Don't use laminate floor gap filler to eliminate required expansion space. Rigid products can restrict movement, and fastening trim through floating planks can create another obstruction.
Sealing a seam also doesn't make ordinary laminate waterproof. Water resistance depends on the flooring product and its approved installation system.
Before attempting repairs, check warranty terms and document the condition. Contact a flooring professional if gaps return, locking edges break, or moisture damage appears. Repeated filling can make later inspection harder without solving the cause.
Dr. Cabinet provides cabinet repair, restoration, and installation. Keep those services separate from the flooring assessment so each issue receives the appropriate attention.
For cabinet repairs alongside your flooring project, call Dr. Cabinet at 201-212-5477.
Keep movement space clear and repair the cause
Choosing laminate floor gap filler starts with identifying the opening. Expansion gaps need clearance or a manufacturer-approved finishing system, while separated plank joints need diagnosis before cosmetic filling.
Use wax or putty only for permitted surface repairs. Protecting the floor's freedom to move matters more than making every visible opening disappear.


Comments
Post a Comment