Wood Filler for Particle Board: Repair Chips, Edges, and Screw Holes
Particle board can often be repaired instead of replaced when the damage is limited to chips, scratches, worn edges, or a loose screw hole. Wood filler for particle board works well for small, dry cosmetic flaws, while epoxy or a high-strength filler is a better match for deep cavities, broken edges, and moisture-prone areas.
A lasting repair depends on more than the filler itself. You need to remove weak material, dry the board completely, shape the patch, sand it smooth, then seal and finish it. For practical cabinet repair guidance, Dr. Cabinet offers more detail on wood filler for particle board repairs.
Key Takeaways
- Use basic water-based filler for tiny chips, nail holes, and shallow scratches in dry, solid particle board.
- Choose two-part epoxy or polyester filler when rebuilding a corner, cabinet edge, stripped hinge hole, or deeper void.
- Never fill over damp, swollen, or crumbly board. Find and fix the moisture source first.
- Let every product cure for its full label time before sanding, drilling, priming, or painting.
- A filled repair lasts longer when exposed edges receive primer, paint, or another moisture-blocking finish.
A filler can restore a cabinet's shape, but it cannot restore the original strength of particle board that has softened from water damage.
Choosing the Best Wood Filler for Particle Board Damage
The right product depends on the depth of the damage, whether the area carries weight, and its exposure to moisture. Basic fillers are easy to spread and sand, but they are not built to replace missing structure. Stronger products require more careful mixing and shaping, yet they hold up better at corners and hardware locations.
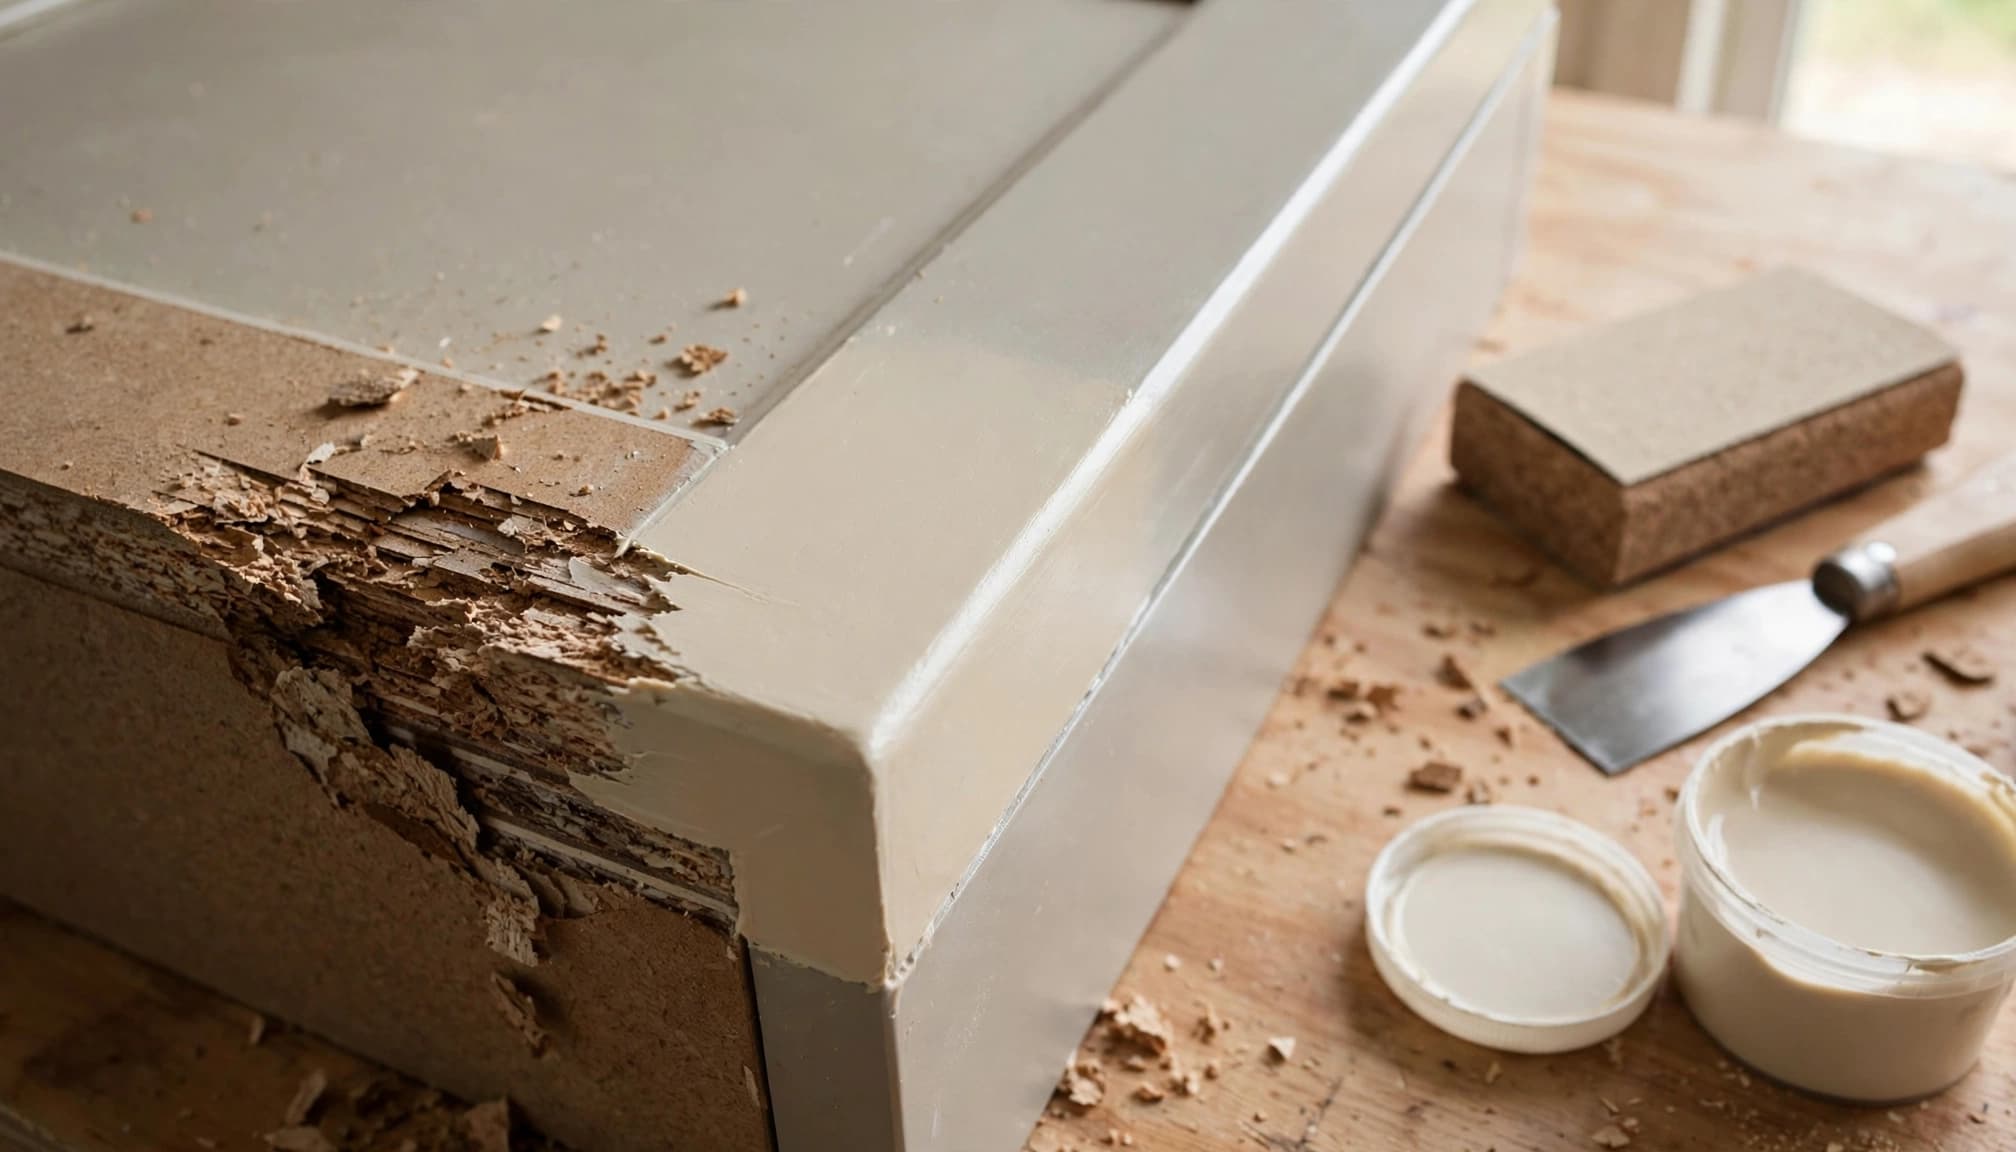
Use Regular Wood Filler for Small, Dry Surface Damage
For small, dry flaws, wood filler for particle board can cover shallow dents, nail holes, minor scratches, and small veneer chips. Min wax Wood Filler is a reasonable choice for tiny defects, especially chips under about one-quarter inch wide, when the surrounding panel feels firm and dry.
Press the filler into the imperfection with a putty knife, leaving it slightly proud of the surface. Once it cures, sand it level. Water-based filler is best for appearance repairs, not for rebuilding a softened cabinet corner or a missing section of board.
Lightweight spackle and weak wall-repair putties usually perform poorly on cabinetry. They can shrink, crumble, or lose their grip when a door slams or a drawer rubs against the repaired area.
Choose Epoxy or High-Strength Filler for Edges and Deep Repairs
Two-part epoxy putty is a stronger choice for damaged edges, broken corners, stripped hinge holes, and cavities that must accept a screw again. Kwik Wood and Mohawk epoxy putty sticks can be shaped by hand, then sanded, drilled, and finished after curing. Mohawk products often have a short working time, so prepare the surface before opening the package.
For broad voids or a heavily worn cabinet edge, a polyester filler such as Bondo can also work well. It sets quickly, so mix small batches and apply only what you can shape before it hardens.
Epoxy and polyester filler resist moisture better than ordinary water-based filler. Still, no filler can solve an active leak or rebuild board that has swollen apart throughout its thickness.
How to Repair Particle Board With Filler, Step by Step
A repair using wood filler for particle board starts with a stable, dry surface. Rushing past preparation usually leads to a patch that cracks, sinks, or pulls away during sanding.
Prepare the Surface Before Applying Any Filler
Start by scraping, cutting, or sanding away loose particles until you reach solid material. Then brush away dust, vacuum the cavity, and wipe the area with a clean cloth. Grease, debris, and loose fibers stop filler from bonding.
Check for hidden moisture before moving forward. A wet sink base, leaking pipe, failed dishwasher seal, or recurring bathroom splash can keep particle board soft long after the surface appears dry. Depending on how saturated it is, drying can take several hours or several days.
When dry fibers still feel soft or fuzzy, apply wood hardener or a small amount of thin CA glue where appropriate. Let it harden before filling. For an outside edge, tape a straight piece of scrap wood or plastic beneath the repair as a temporary dam.
- Press the filler firmly into the void to remove air pockets.
- Build deep repairs in layers instead of forcing one thick application.
- Shape the final layer slightly above the surrounding surface.
- Leave the repair undisturbed for the full cure time listed on the label.
Sand, Prime, and Paint for a Smooth Cabinet-Quality Finish
Don't sand until the filler has cured. Quik Wood has a stated 15 to 25 minute work life and reaches functional cure in about 60 minutes, while other products follow different schedules. Bondo-type polyester filler may be ready to sand in about 30 minutes, but full cure can take longer.
Use a sanding block on broad, flat surfaces. Begin with 80 to 120 grit paper to level excess filler, then move to 180 to 220 grit for a smoother finish. Use light pressure near edges so you don't round over the profile you rebuilt.
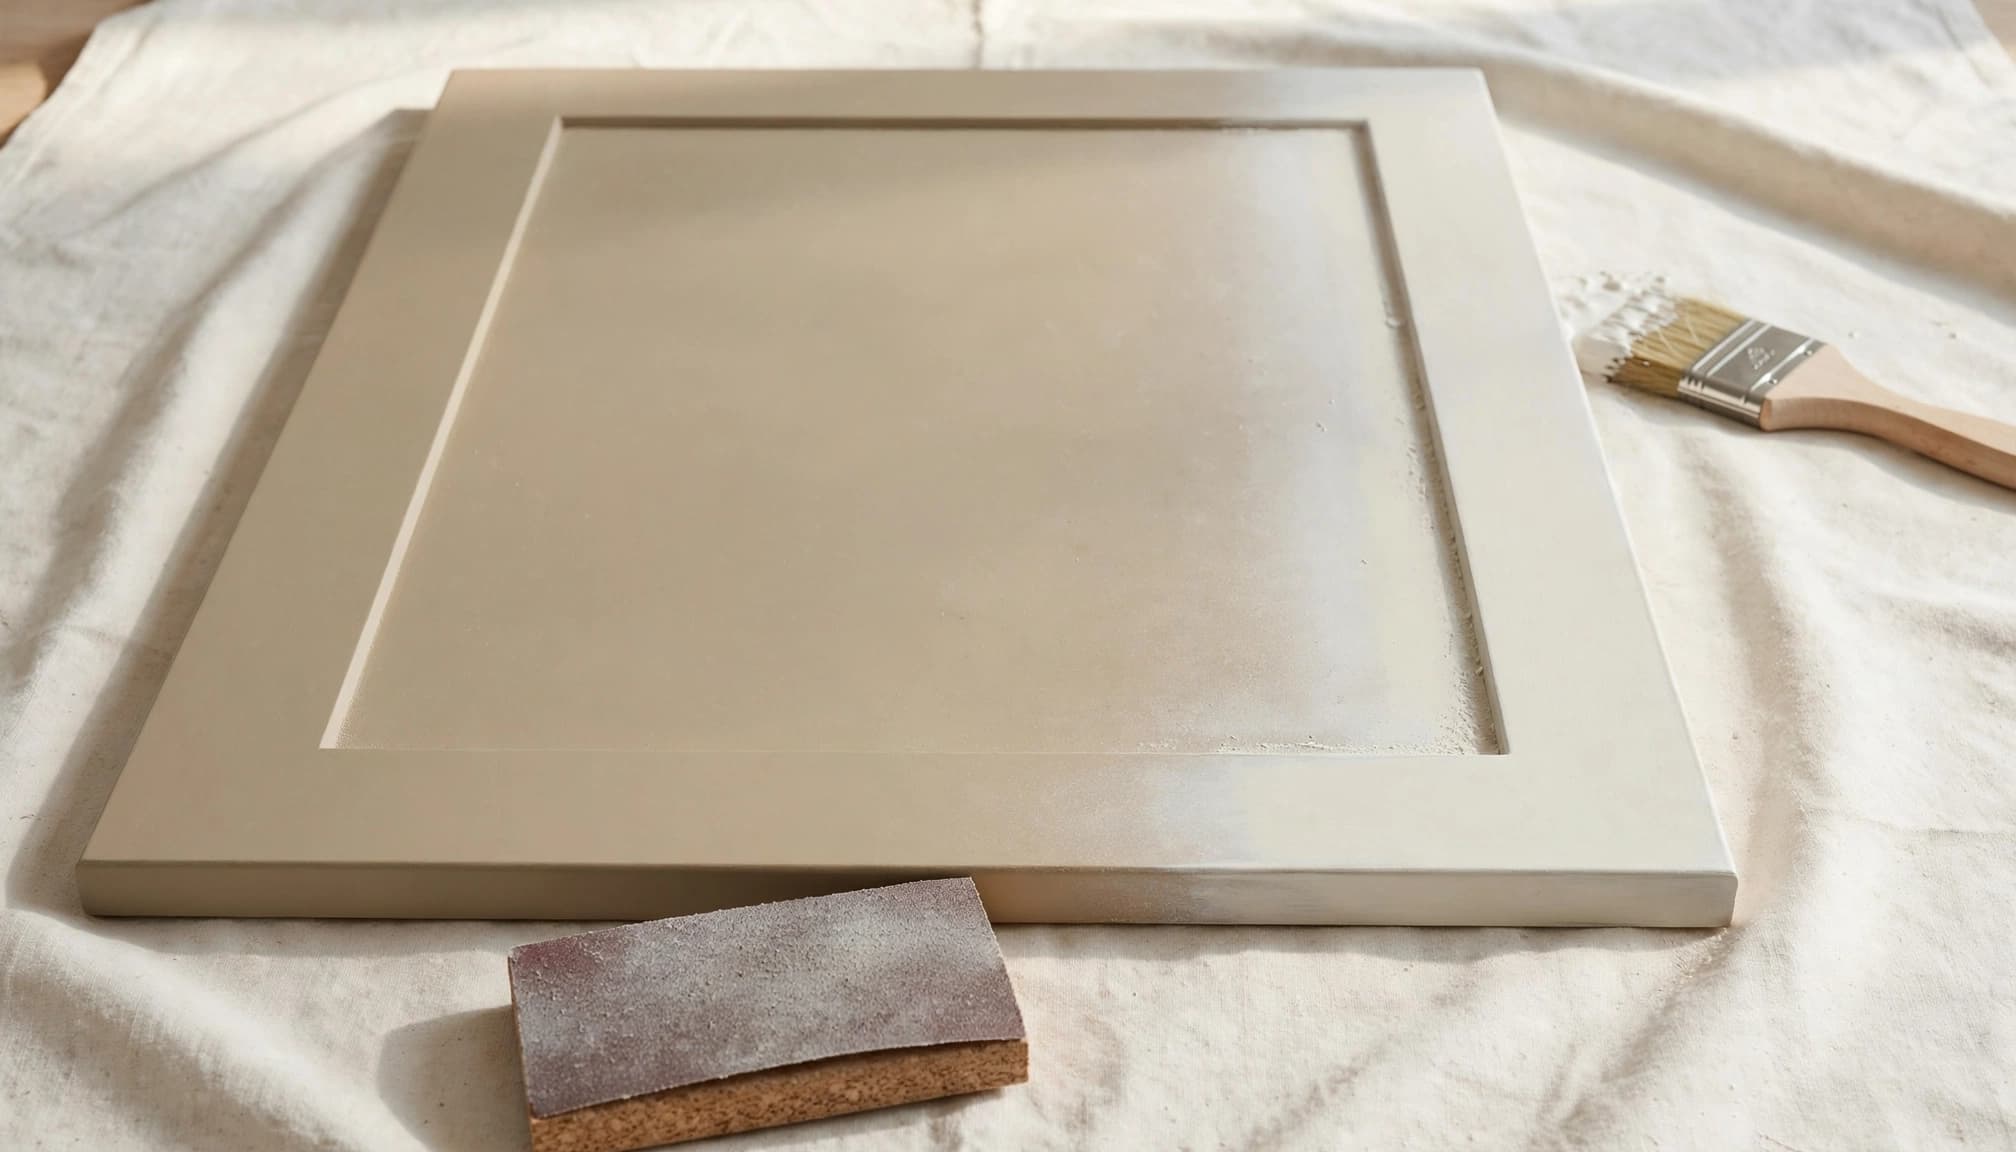
Remove all sanding dust before applying primer. Primer hides color differences, seals the patch, and gives touch-up paint a more even surface. Paint is usually easier to match than stain on repaired particle board, although a tinted finish may work on a carefully tested area.
When Filler Will Not Fix the Particle Board
Filler is a practical solution when the board remains solid around the damage. However, it cannot reverse widespread swelling, delamination, mold growth, or a cabinet box that has lost its shape. Dr. Cabinet can assess cabinet doors, drawers, hinges, edges, and larger restoration projects when a simple patch isn't enough.
Signs You Should Replace the Damaged Section
Replacement is usually safer when any of these conditions are present:
- The board remains soft after it has had time to dry.
- Swelling extends well beyond the visible chip or damaged edge.
- Several screws or hinges have crumbled out of the same area.
- The cabinet box has bowed, sagged, or separated at its joints.
- An active plumbing leak or repeated water exposure caused the damage.
A surface patch may look acceptable at first, but weak particle board can fail once a door's weight pulls on the hinge or stored items load the cabinet base. In those cases, replace the damaged panel, reinforce the section, or use a professional repair plan.
How to Make a Filled Repair Last Longer
Fix the cause of moisture before repairing the cabinet. Dry sink bases after spills, inspect plumbing connections, and seal exposed particle-board edges near sinks, dishwashers, and bathroom vanities.
Use proper screws, hinge repair plates, or threaded inserts where hardware needs extra holding power. Don't overload a repaired drawer slide, shelf support, or door hinge. Primer and paint add another protective layer that helps block moisture from reaching the filler and exposed board.
When the repair affects cabinet alignment, door movement, or a highly visible finish, Dr. Cabinet may provide a more durable result than a surface patch. Professional restoration can rebuild damaged sections while preserving the look and function of existing cabinetry.
Frequently Asked Questions
Can filler hold a screw in particle board?
Basic filler alone is rarely dependable for a screw that supports a hinge, drawer slide, or heavy hardware. Use a two-part epoxy or a dedicated hardware repair method, such as a hinge repair plate or threaded insert, when the fastener needs real holding strength.
Can I use filler on a swollen cabinet edge?
Only if the swelling is minor, completely dry, and you can remove all soft material first. If the board has expanded, split, or turned crumbly through a large area, replacement will last longer than trying to rebuild it with filler.
How long should I wait before sanding a filled repair?
Follow the product label because work time, sanding time, and full cure are different. Mohawk epoxy putty may be ready for sanding or drilling after about 20 minutes, while other fillers need much longer. Cooler temperatures and thick applications can extend curing.
Should I seal particle board after filling it?
Yes. Primer, paint, cabinet enamel, or another compatible protective finish helps seal the filled spot and exposed edges. This step matters most around kitchen sinks, bathroom vanities, dishwashers, and other areas with regular moisture.
Can I stain a filled particle-board repair?
You can, but stain often absorbs differently into filler than into wood veneer or laminate. Test your stain and topcoat on a hidden spot first. A painted finish usually disguises a filled repair more effectively.
When should I call Dr. Cabinet for an estimate?
Call Dr. Cabinet when the damage affects cabinet structure, hinges, drawer operation, water-damaged edges, or a finish you want matched professionally. An assessment can help you avoid spending time on a patch that won't support daily use.
A Better Repair Starts With the Right Material
Small, dry cosmetic flaws respond well to basic filler, while deep holes, broken corners, and worn edges need epoxy or a high-strength polyester product. Complete drying, solid surface preparation, proper curing, careful sanding, and sealing determine whether the repair blends in or fails early.
For cabinet repairs that need skilled restoration or a closer finish match, contact Dr. Cabinet at 201-212-5477 or infodrcabinet@gmail.com. A sound repair can keep functional cabinetry in service without the cost of full replacement.


Comments
Post a Comment