Cabinet Door Repair Guide: Common Problems and Fixes
A cabinet door that sags, sticks, or looks worn often needs a targeted repair rather than replacement. The right solution depends on the hinge, door material, and extent of the damage.
At Dr. Cabinet, we recommend finding the cause before adjusting hardware or covering a blemish. This cabinet door repair guide helps you distinguish a loose screw from a damaged door or cabinet frame, so you can choose a repair that lasts.
Start with an inspection, then use our cabinet door repair resource to work through the problem without turning a small adjustment into a larger repair.


Use This Cabinet Door Repair Guide to Find the Cause
A crooked door doesn't always have a hinge problem. Loose hardware, a damaged panel, and an out-of-square cabinet box can produce similar symptoms, but each needs a different response.
Check the hinges, gaps, and door edges
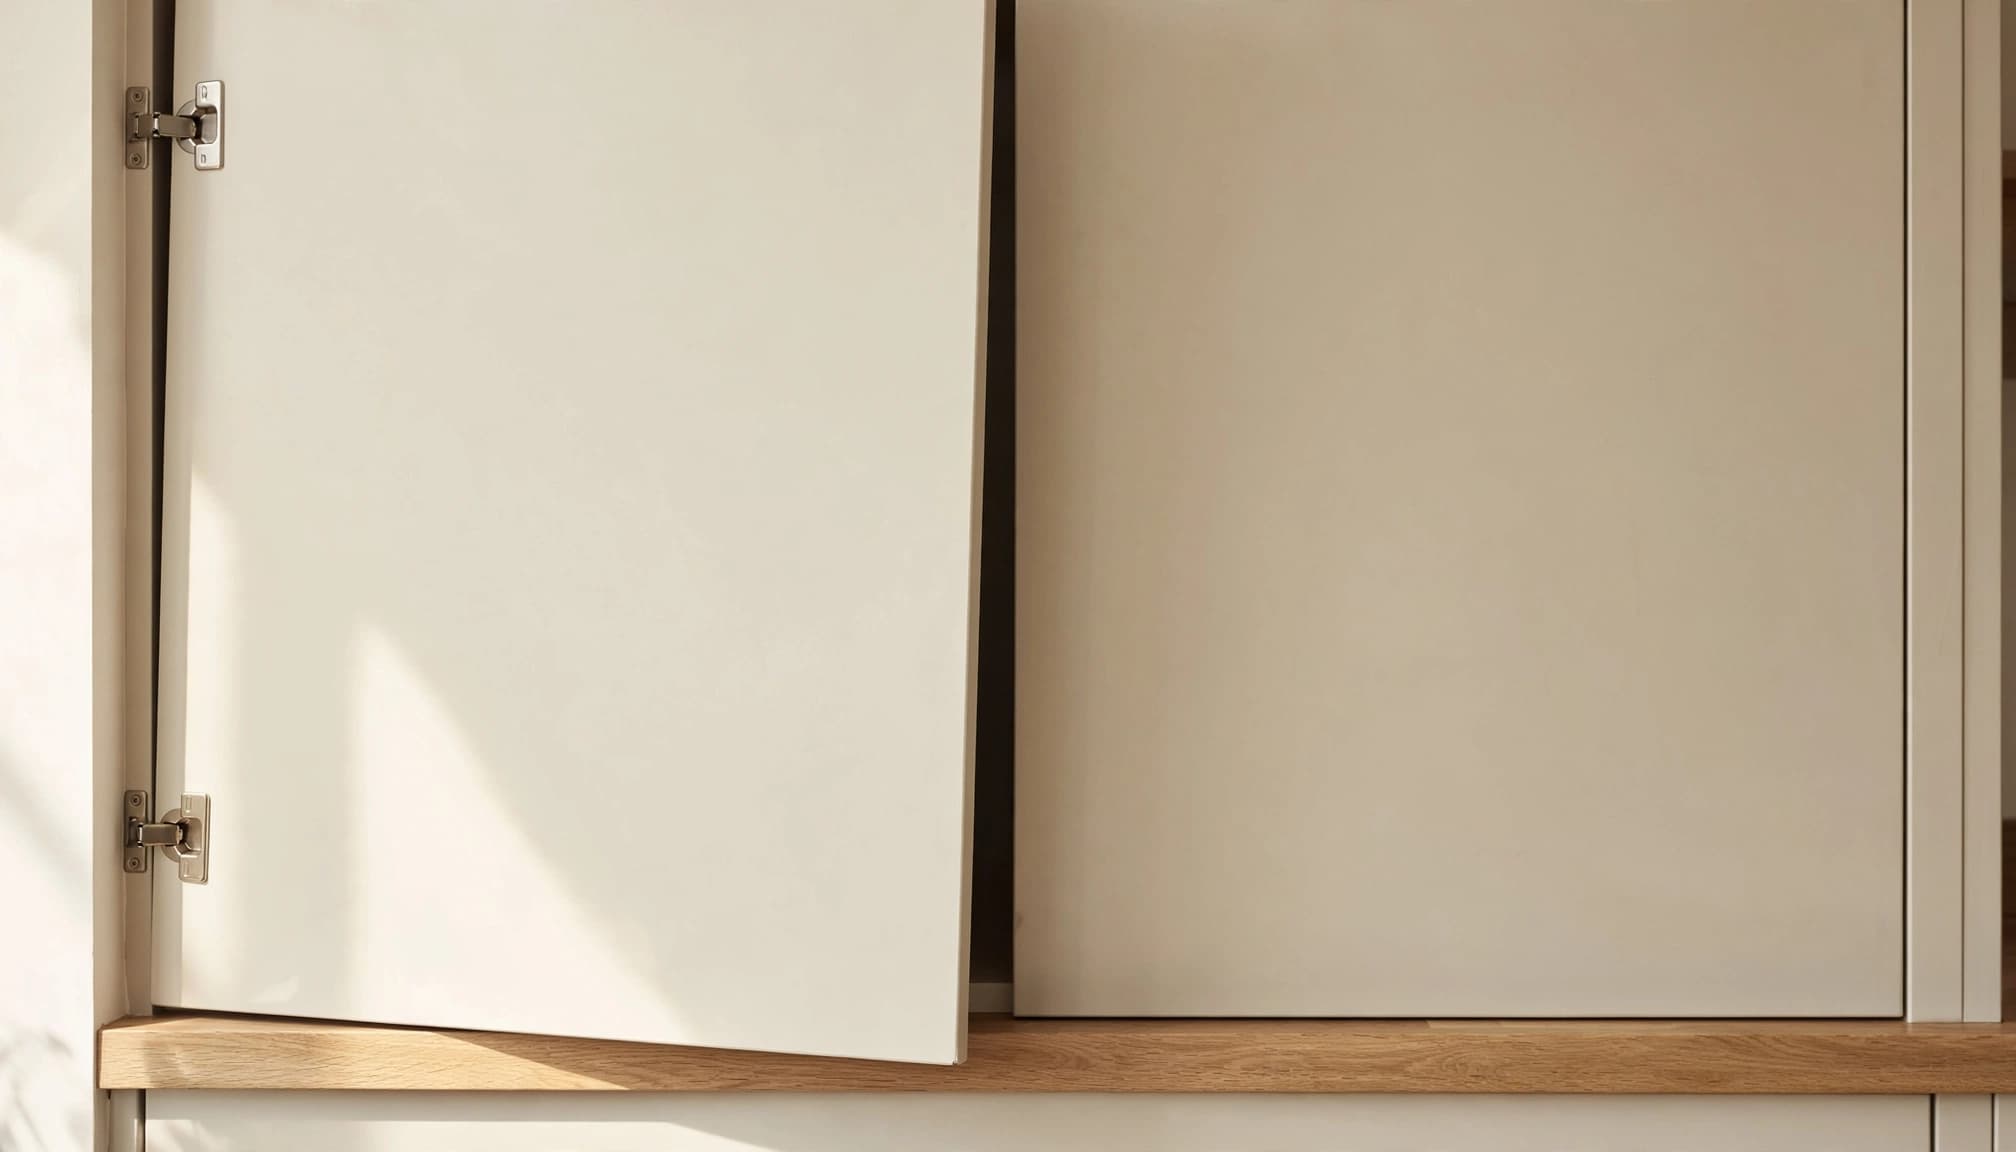
Open and close the door slowly. Look for loose screws, uneven gaps, and rubbing against neighboring doors or drawer fronts. Check whether the hinge moves against its mounting surface or whether a screw spins without tightening.
Next, inspect both faces and all four edges. Cracks near hinge screws, peeling veneer, and swollen corners deserve attention before you adjust anything.
If the door remains crooked after an appropriate hinge adjustment, inspect the cabinet frame. A framing square can help reveal an opening that's out of square. Several misaligned doors can also point to a cabinet-box problem.
Gather basic tools and work safely
Use a screwdriver that fits the installed screw heads. For screw-hole repairs, have wood glue, suitable wooden filling material, and a drill with a pilot bit ready. Wear eye protection when drilling, and follow adhesive and coating instructions for ventilation.
Support the door before loosening hardware. For a heavy door, have another adult hold it or remove it with help.
Don't assume every concealed hinge adjusts the same way. Identify the hinge model before turning adjustment screws, and distinguish those screws from the fasteners holding the hinge to the cabinet.
Fix Loose, Sagging, or Sticking Cabinet Doors
For the hardware fixes in this cabinet door repair guide, make one change at a time. At Dr. Cabinet, we recommend checking the door's fit after every small adjustment.
Adjust hinges and tighten loose screws
Begin with the mounting screws before changing alignment settings:
- Support the door and gently tighten loose screws at the door and cabinet mounting points.
- Close the door slowly, then note where it rubs or where the surrounding gap changes.
- Follow the hinge manufacturer's instructions for height, side-to-side, or depth adjustment, as applicable.
- Make a small adjustment, close the door again, and repeat only where needed.
Blum COMPACT hinges are one example. Their model-specific adjustment instructions differ by series, so one screw-turning method won't cover every hinge.
Stop if a hinge is bent or broken. Our guidance on cabinet hinge repair and replacement covers related hardware problems.
Repair a stripped hinge screw hole
For a modest stripped hole in sound wood, remove the screw and move the hinge aside while supporting the door. Fit wood-glue-coated wooden toothpicks or a cut-to-size wooden peg into the opening without forcing the surrounding material apart.
Let the glue cure according to its label. Then trim the repair flush, drill a pilot hole suited to the screw, and reinstall the hinge. Tighten gently to avoid stripping the repair.
For a hole larger than 1/4 inch, or one that still won't hold a screw, stop repeating the same patch. Suitable repair material or professional repair may be necessary, especially in damaged MDF or particleboard.
Repair Cracks, Chipped Finishes, and Water Damage
Surface wear and structural damage need different treatment. A small finish chip may suit touch-up work, while a cracked joint or swollen core needs attention before any cosmetic repair.
Match the repair to the surface damage
Inspect the damaged area under good light. Small chips and finish wear on an otherwise sound door may be touch-up or refinishing candidates. Dr. Cabinet offers both services when they suit the door's condition.
Before filling a crack, look at its location. A crack beside a hinge screw or along a joint may affect strength. If the joint moves as the door opens, covering the line won't secure it.
Our guidance on repairing cracked cabinet doors addresses that separate repair category. Also inspect lifted veneer for moisture damage before attempting to reattach or refinish it.
Know when a swollen door needs replacement
Bulging panels, peeling veneer, and soft or spongy areas suggest deeper damage. These signs matter especially with MDF doors, because moisture can compromise the core beneath an intact-looking finish.
Find and address the moisture source before repairing or replacing the door. Inspect nearby plumbing and cabinet interiors for leaks, dampness, or additional deterioration. Our advice on common kitchen cabinet problems covers broader troubleshooting.
When the core has lost strength, replacement may be the practical choice. Sanding a swollen edge won't restore the material's original strength or give hinge screws a dependable mounting surface.
Know When to Repair a Door or Call a Cabinet Pro
Use this cabinet door repair guide to separate a manageable adjustment from damage that needs assessment. Repair decisions depend on material, structural condition, and the work required to restore a secure fit.
Choose professional help for structural or repeat damage
A sound door with a minor alignment problem or isolated stripped screw hole is more likely to be repairable. Broken joints, repeated fastener failure, and extensive water damage call for a closer assessment.
A badly distorted cabinet frame can also defeat otherwise correct hinge adjustments. If a wall-mounted cabinet is loose, stop using it and keep people away until a qualified professional assesses its mounting.
A screw that repeatedly pulls out needs a sound mounting surface. Repeated tightening can enlarge the damage.
At Dr. Cabinet, our cabinet repair service includes door and hinge repairs. A free estimate is a useful next step when the damage exceeds a straightforward adjustment.
Weigh the repair against a matching replacement
Repairing one door can preserve the existing finish and profile. However, a replacement may make more sense when the panel is badly distorted, the core is compromised, or a joint can't support normal use.
Cost depends on the material, damage, hardware, and finishing work involved. A replacement door also needs compatible dimensions and hinge placement.
Include the cabinet box in that decision. Replacing a door won't correct a damaged mounting surface behind it. Our broader cabinet repair guidance covers related problems beyond the door itself.
Frequently Asked Questions
Can I replace a cabinet door and keep its existing hinges?
Yes, if the hinges are sound and compatible with the replacement door. Door thickness, hinge-cup location, and overlay must suit the hardware. Overlay describes how much the door covers the cabinet opening, so matching only the door's overall size isn't enough.
How can I identify which hinge model I have?
Look for a stamped brand name, logo, or model number on the hinge arm, cup, or mounting plate. Photograph those markings before removing anything. Also photograph the installed hinge, because its shape and mounting arrangement help distinguish otherwise similar hardware.
Can I remove a cabinet door to refinish it?
Yes, removing the door usually gives you better access to its edges and keeps coatings away from hinges. Label each door and its hardware so everything returns to the same opening. Support the door during removal, then follow the coating manufacturer's preparation and curing instructions.
Should I replace matching doors together or one at a time?
You can replace one door when a suitable match is available. However, existing finishes can change with age and light exposure, so a new door may look different. Compare the profile and finish together before deciding whether adjacent doors also need work.
How can I reduce the chance of moisture damage returning?
Keep cabinet surfaces dry and address plumbing leaks promptly. Avoid leaving wet cloths against door edges, and wipe up sink splashes before water sits along seams. After a leak, inspect the cabinet interior as well as the visible door so hidden dampness doesn't continue damaging the material.
Start With the Cause, Then Choose the Repair
The most useful step in any cabinet door repair guide is identifying what failed. Sound material and secure hardware give an adjustment a chance to last; damaged joints or swollen cores need a different solution.
A careful inspection also helps you avoid spending time on a cosmetic fix when the cabinet needs structural attention. Choose the repair that addresses the underlying problem.
If you'd like help, contact Dr. Cabinet for a free estimate at 201-212-5477 or infodrcabinet@gmail.com. We'll help you determine a practical next step for your cabinet doors.


Comments
Post a Comment